Failure is an important part of the
Reiterative Design Process!
For some students, dealing with failure can be tough. It’s frustrating to encounter obstacles in science! And for teachers – how do you grade a project when a student puts a lot of effort in, but keeps hitting roadblocks?
Many of you already teach like this, but I wanted to share my own recent example of the Reiterative Design Process. Very few things turn out perfect on your first attempt (like the Orange Chicken I attempted to make last night… Not enough sugar?) and require you to learn from several failures or mistakes.
Many students we are working with now are excited about the growing field of DIY Neuroprosthetics, so to help guide students along in their journey, I’ve been working on creating my own prosthetic hands using materials that are accessible to many Middle and High School students!
Three Generations of NeuroProsthetics
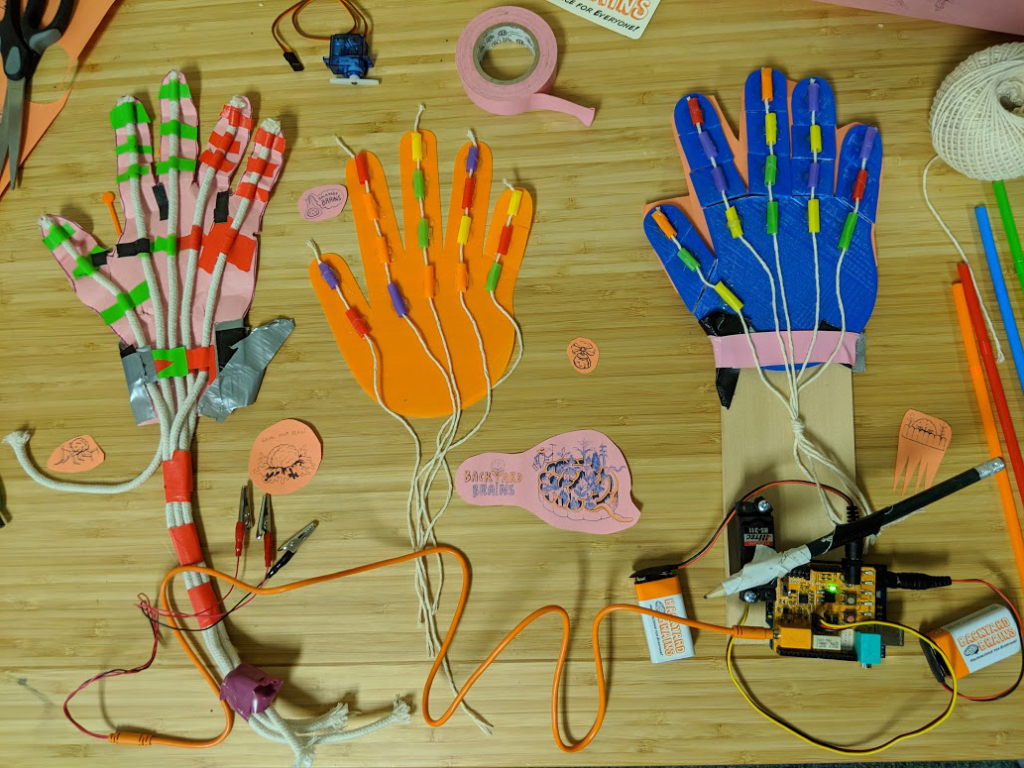
| From left to right, you can see that in just three different build models, my design came a long way… |
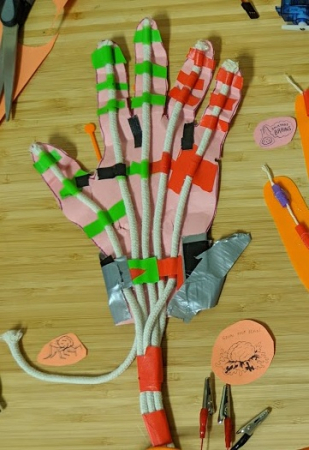
First was the paper hand! This was ultimately successful but wasn’t very versatile. I had to tape the hand and servo motor down to the table to get it to work, so it was not very mobile at all. Also, over time it began to, well, fall apart. Construction paper isn’t meant to last I guess…
Check it out in the tweet below, where I showed off this very low-tech neuroprosthetic at one of the largest tech and innovation shows in the world!
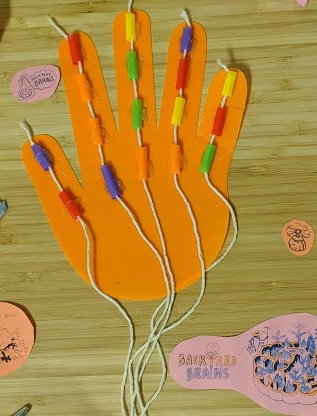
For my second design, I wanted to make the hand more durable. I tried 3D printing a hand shape, hoping that the plastic would be more durable, would help the hand flex and return to a resting position, and could be fixed onto a more mobile structure.
I ran into issues pretty immediately though, when I realized that the plastic was still too stiff… see below:
**No 3D printer? No problem! You could also trace your hand on plastic salvaged from an empty gallon jug and cut it out.**
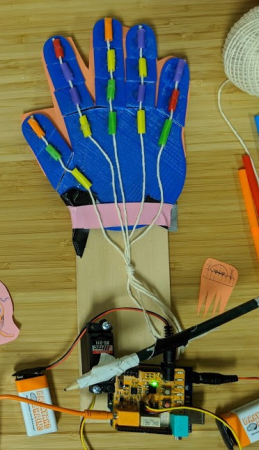
For my final design, I decided to print a thicker hand shape, and then cut at the finger joints. I glued rubber bands onto the backs of the fingers to help keep it together. Great!
But the fingers kept falling under the hand, as if they had been bent back far enough to be broken if it were a human hand. Spooky. So I added the orange backstop you can see behind the fingers so that they wouldn’t fall back too far.
This design worked great! So I taped it onto a small piece of wood, screwed my servo motor in, and succeeded in developing a very simple, mobile, and effective 3D prosthetic to demonstrate when I travel!
| As an example of the reiterative design process, I see 4 distinct phases. First, planning out the idea, then 3 trial and error phases as I built, and then rebuilt, my design – always learning from my previous iterations. For your student who, despite encouragement, stops and gives up at their first failure… maybe their grade should reflect that. But for the student, who’s final product might still not be perfect, but can provide evidence of multiple iterations and a continued desire to learn and improve, we think that is totally A+ territory. Ultimately, we’re teaching the scientific method, and we should do everything we can to encourage this kind of persistent problem-solving! |
DIY Neuroprosthetics in the Classroom
| @FarkasStem‘s students have been working through their own reiterative design process as they modify the Backyard Brains’ “The Claw” to create mobility-assisting devices. Check out this tweet, it’s a great example of a project that isn’t perfect yet, so Amy encourages her students to learn from the mistake and change their design! |
Required Kit: The Claw
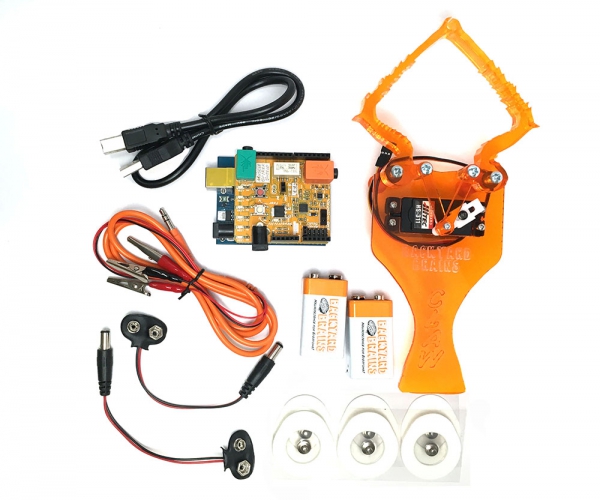
| Develop your own Neuroprosthetics! Get started using The Claw! |